A pie chart is a graphical representation of a certain numerical ratio. It helps visualize boring data in an easily digestible way. The ElementsKit Pie Chart widget provides an easy interface to show pie charts easily on your Elementor websites.
You can easily add text, icons, and images to the pie chart to show your data concisely. It also has versatile customizing features to give an eye-catching look to the pie chart.
Let’s learn how to create pie charts in Elementor websites with the ElementsKit Pie Chart widget.
How to Create Pie Charts in Elementor? #
First, be sure to install and activate the ElementsKit plugin on your Elementor websites. Then, follow the steps below.
Step-1: Add ElementsKit Pie Chart Widget #
Start by inserting a new page or taking an existing one from your WordPress dashboard and follow Edit With Elementor Builder > Search ElementsKit Pie Chart Widget > Drag & Drop to the editor screen.
Step-2: Add Content for Pie Chart #
Under the Content tab of widget settings, you can add content, icons, images, and set percentages for your pie chart. Let’s see all the feature settings and how they work.
Content
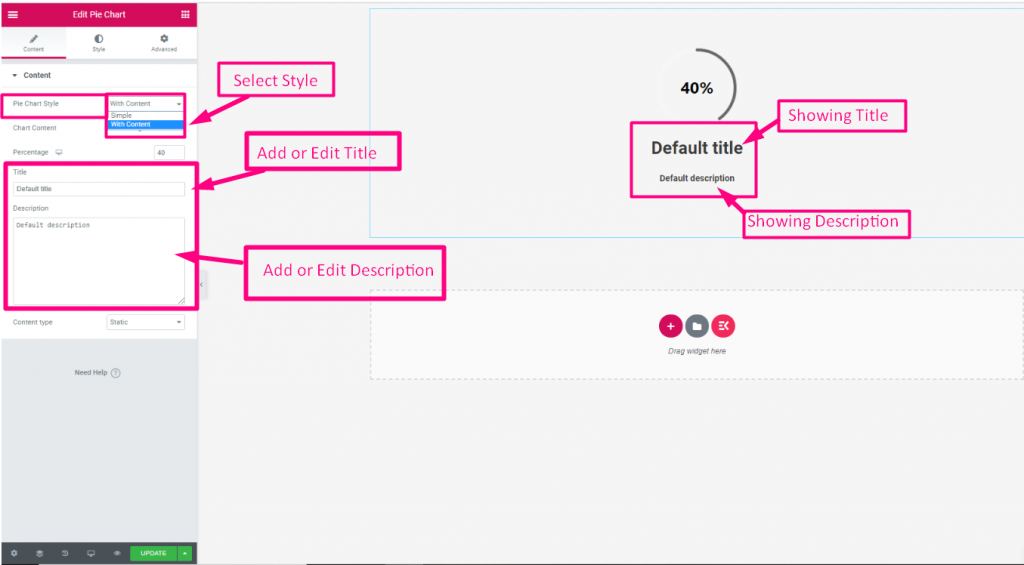
- Pie Chart Style: It offers two choices.
- Simple: Just show a simple pie chart only.
- With Content: This option lets you show additional content with your pie chart, like title & description.
- Chart Content: You can select between number & icon.
- Percentage: Show the percentage in numbers.
- Icon: Choosing the icon option will reveal the “Icon Type” feature.
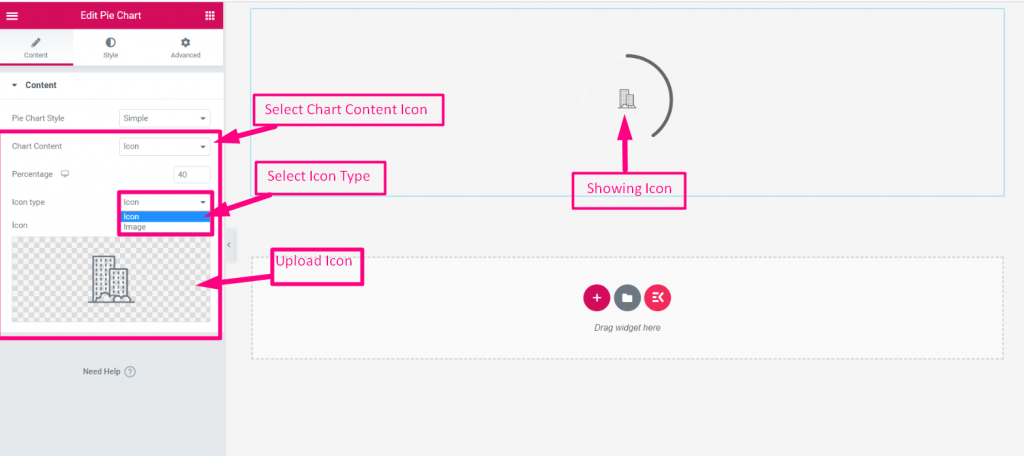
- Icon Type: Decide what you want to show in the pie chart.
- Icon: Select an icon from the icon library or upload your own.
- Image: Upload an image to show in the pie chart.
- Image Size: Specify the size of your image from the dropdown.
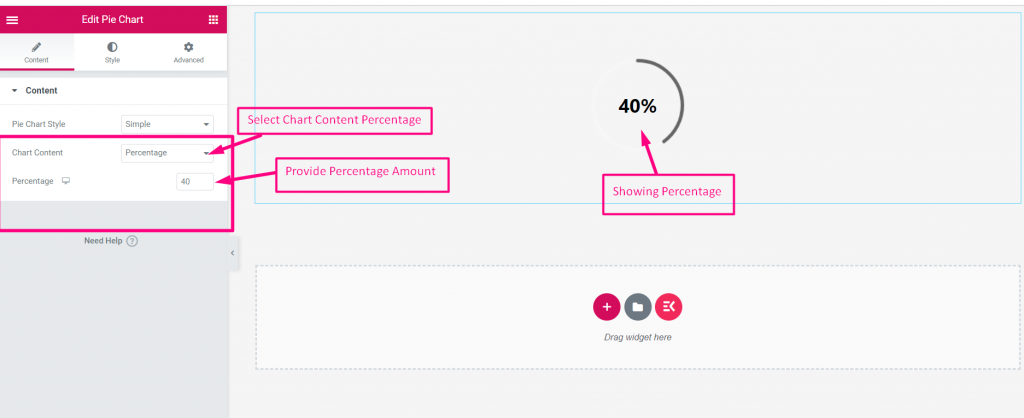
- Percentage: Define the percentage of your pie chart.
- Title: Enter the title text to show the pie chart.
- Description: Add the description for the pie chart.
- Content Type: When you show content with a pie chart you can set how content appears. Here are the available options:
- Static: Text will appear statically.
- Flip: This applies a flip animation over the pie chart text.
Step- 3: Customize the Pie Chart on the Elementor Website #
Navigate to the Pie chart WIdget settings > Style tab to unlock all the customizing settings of ElementsKit. You will see many features to play with. Down below we’ll be explaining all the design features.
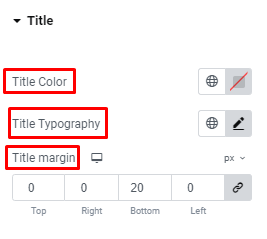
Title: Pick a color for your title, customize the typography, and add a margin around the title.
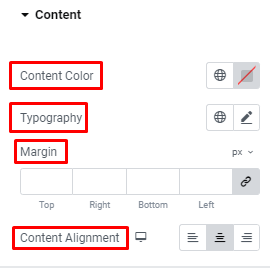
Content: Offer the same customization as the previous one for the content text and align set alignment for it.
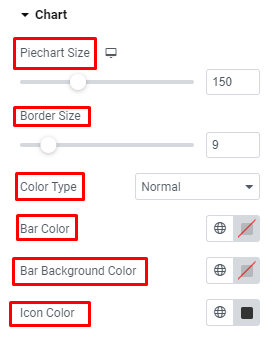
Chart: Define the size of your piechart and border and choose a color type between Normal or Gradient. Next, give color to the bar and its background and icon.
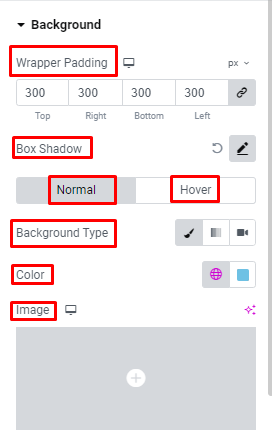
Background: You can adjust the wrapper padding for the background and apply the box shadow. Then select between color, gradient, image, and video for the background and hover background. Further, you can select from versatile animation effects for the background on hover.
Hopefully, now you are familiar with the ElementsKit Pie Chart widget feature and know how to create pie charts on Elementor websites.


