Background Image Parallax #
A major trend in web design is Parallax scrolling, which involves the Background Image is moving at a slower rate to the foreground content as you scroll down the page. This parallax effect can be applied to Elementor site.
In this guide we’ll show you how you can add Parallax effect on a Background Image with ElementsKit.
Watch the video guide:
Or, follow the step by step instructions below:
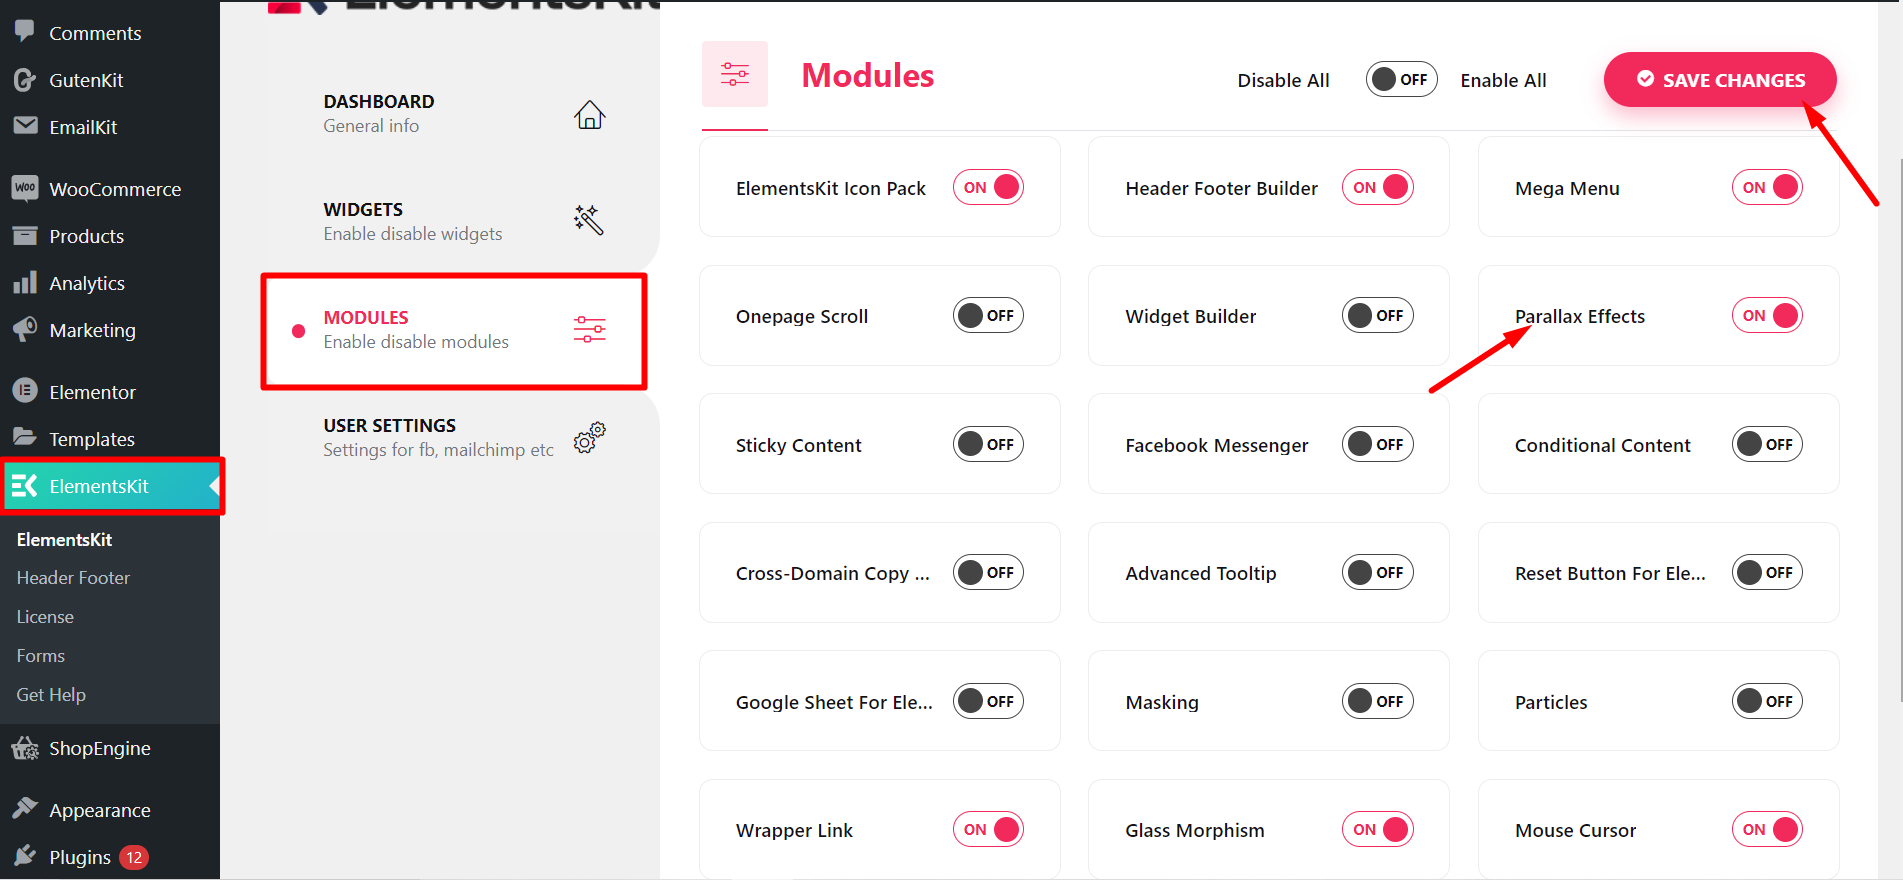
Step=>1: Make sure the Parallax module is ON from Dashboard → ElementsKit → MODULES
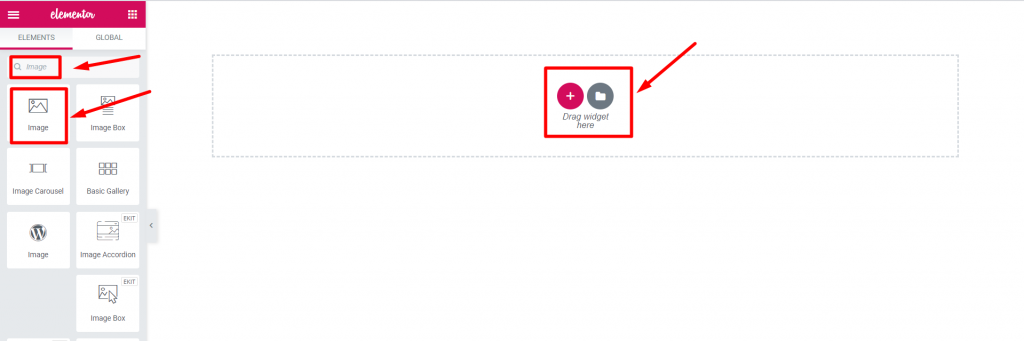
Step=>2: Go to Elements=> Search for Image=> Drag and Drop the Image section.
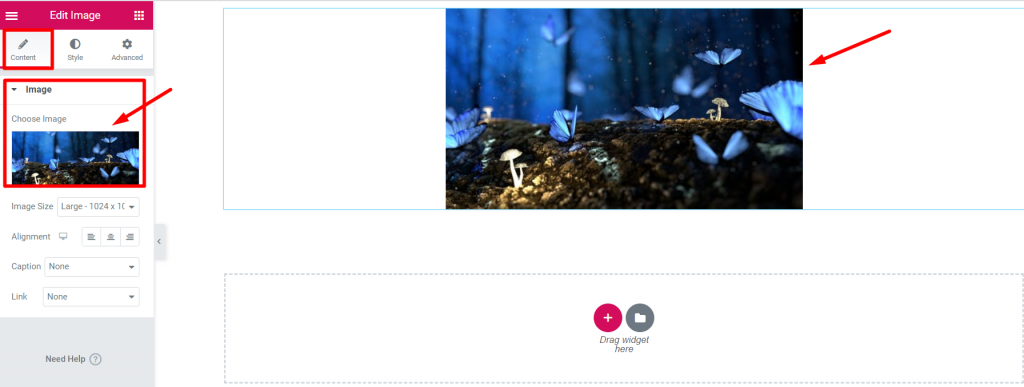
Step=>3: Add a Background Image from Edit Section → Content tab
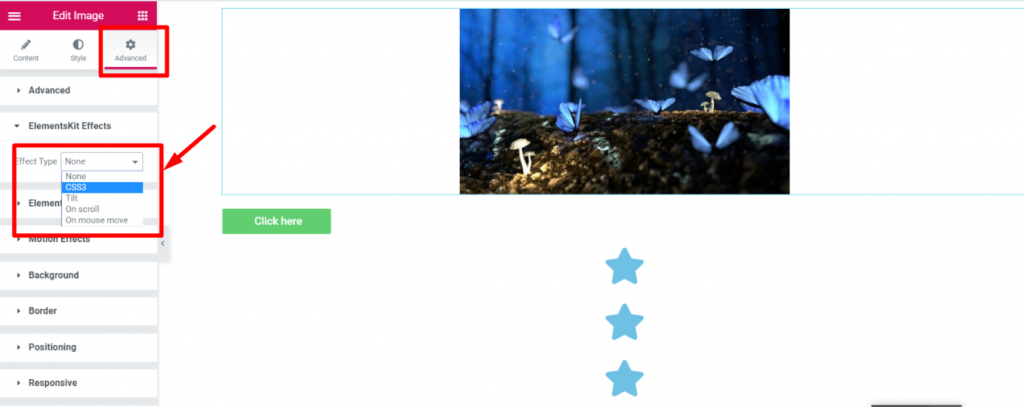
Step=>4: Go to Advanced Tab -> Click on ElementsKit effects-> Select Effect Type CSS3, Tilt, On scroll, On Mouse Move option at your own choice
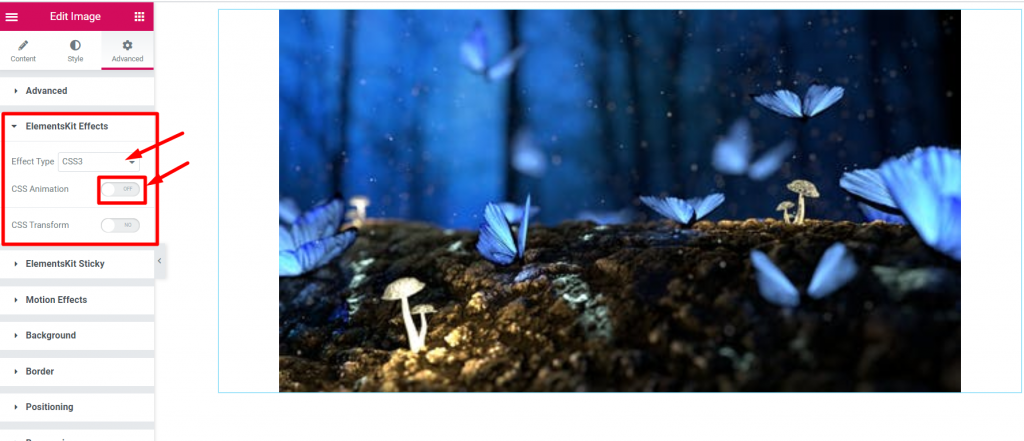
CSS3 #
- Step=>1: Go to Advanced Tab=>ElementsKit Effects=> Effect Type=> Select CSS3=> Turn on the CSS Animation Toggle
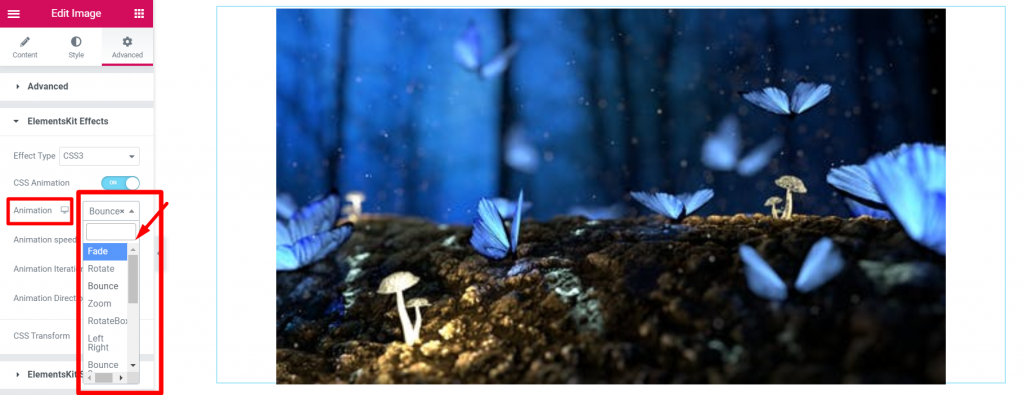
- Select Animation effect from Drop-Down
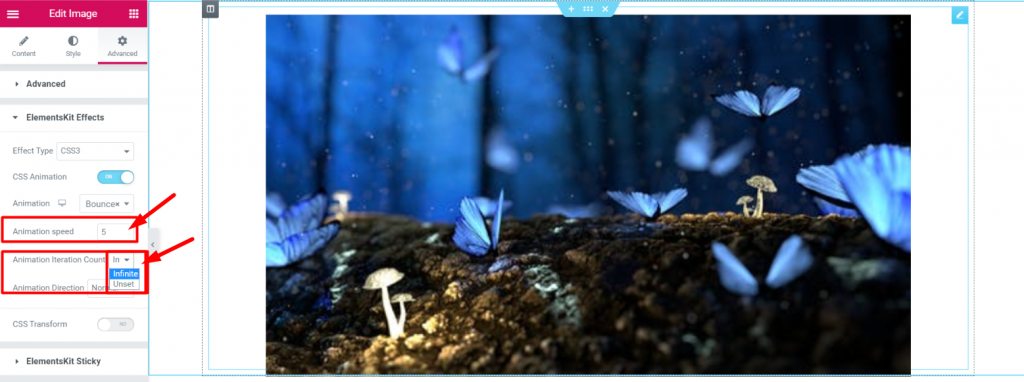
- Modify Animation Speed
- Animation Iteration Count=> Infinite or Unset
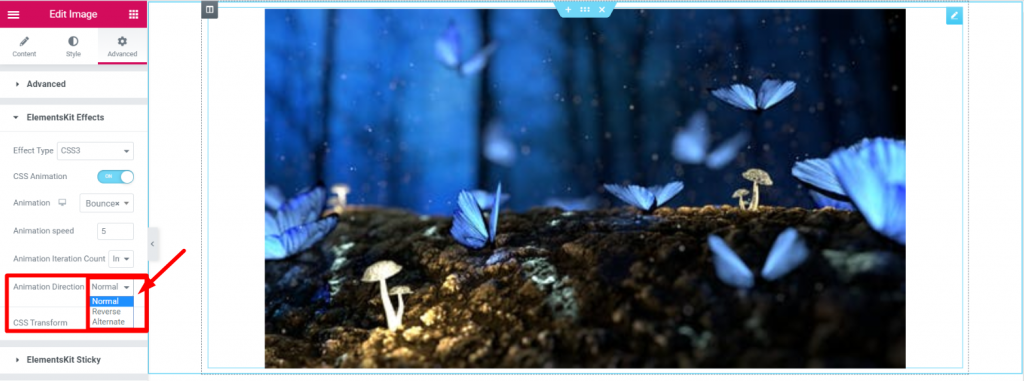
- Select Animation Direction
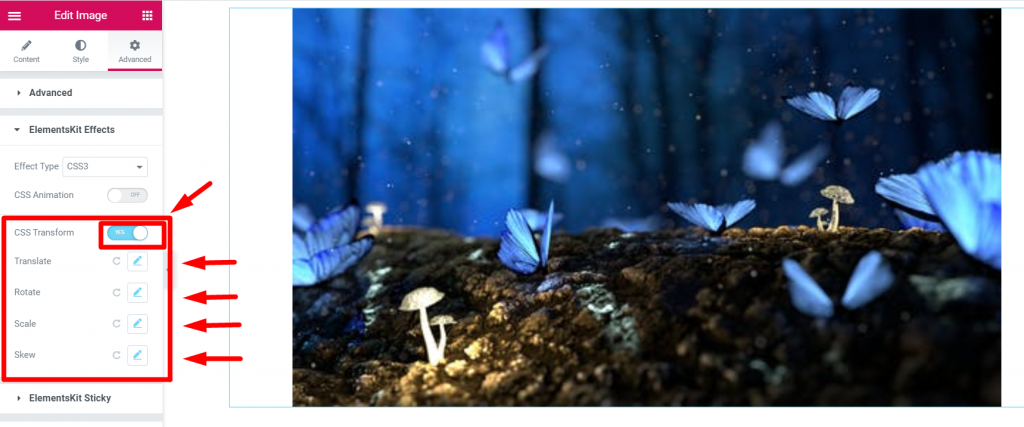
- Step=>2: ElementsKit Effects=> Effect Type=> Select CSS3=> Turn on the CSS Transformation Toggle
- Translate
- Rotate
- Scale
- Skew
- Reset if want
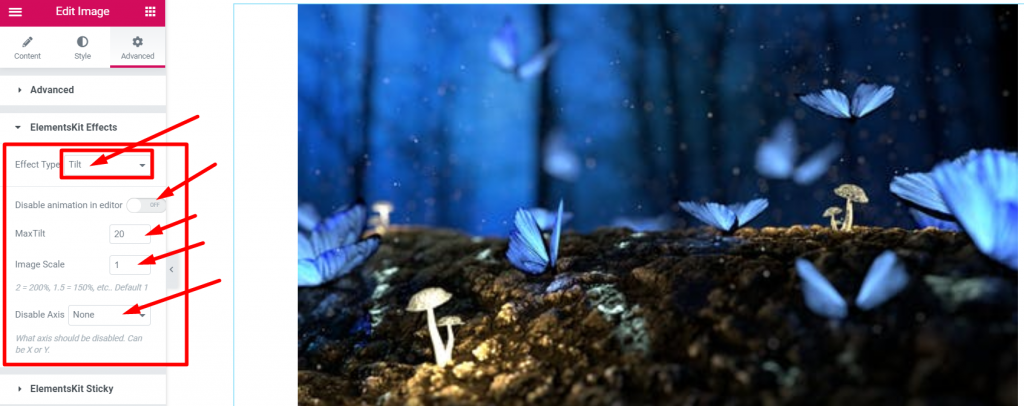
Tilt #
Step=>1: Go to Advanced Tab=>ElementsKit Effects=> Effect Type=> Select Tilt
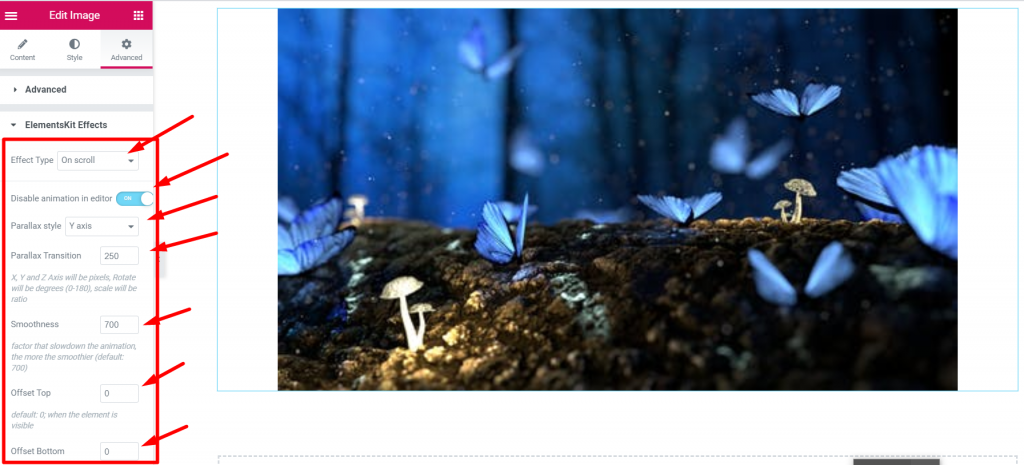
ON Scroll #
Step=>1: Go to Advanced Tab=>ElementsKit Effects=> Effect Type=> Select On Scroll
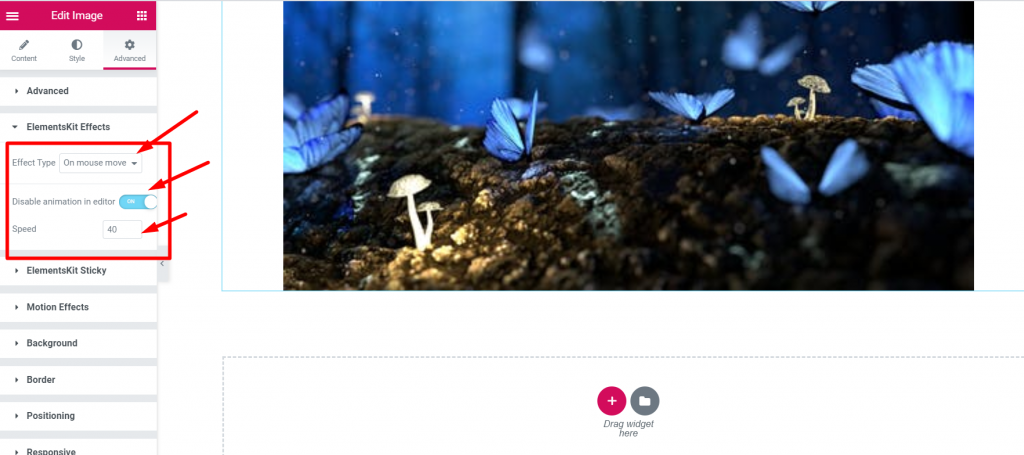
On Mouse Move #
Step=>1: Go to Advanced Tab=>ElementsKit Effects=> Effect Type=> Select On Mouse Move
That’s how parallax effect can be applied to Elementor page or website. Learn this simple and catchy method to apply parallax in your Elementor page.


