Getting Started #
The Instagram Widget allows you to display your latest Instagram posts on your WordPress sites. Here’s a comprehensive article to explain every method in detail. Follow the step-by-step process to connect to the Instagram Feed.
Generate Instagram User ID and Access Token #
Here is how to generate an Instagram User ID and Access Token.
You will need a User ID and Access Token to Connect to your Instagram.
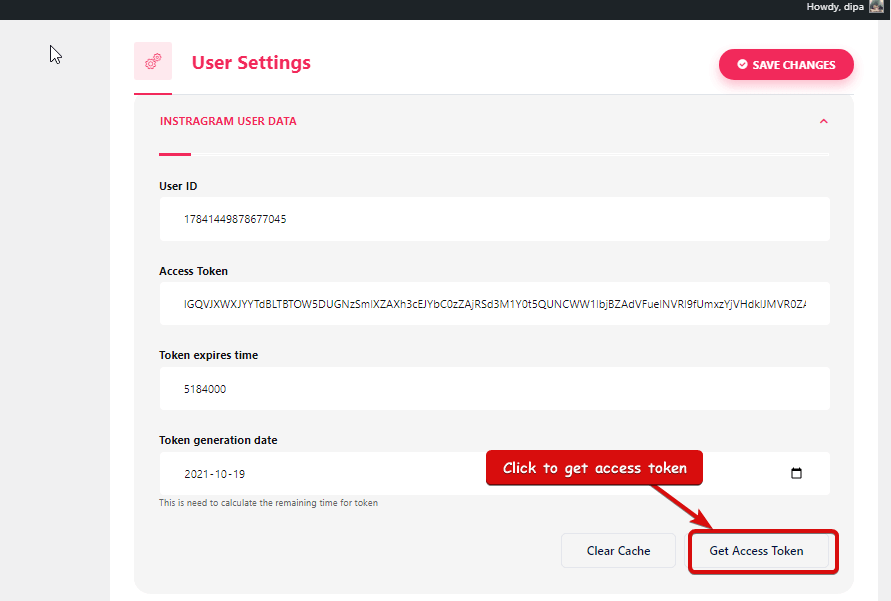
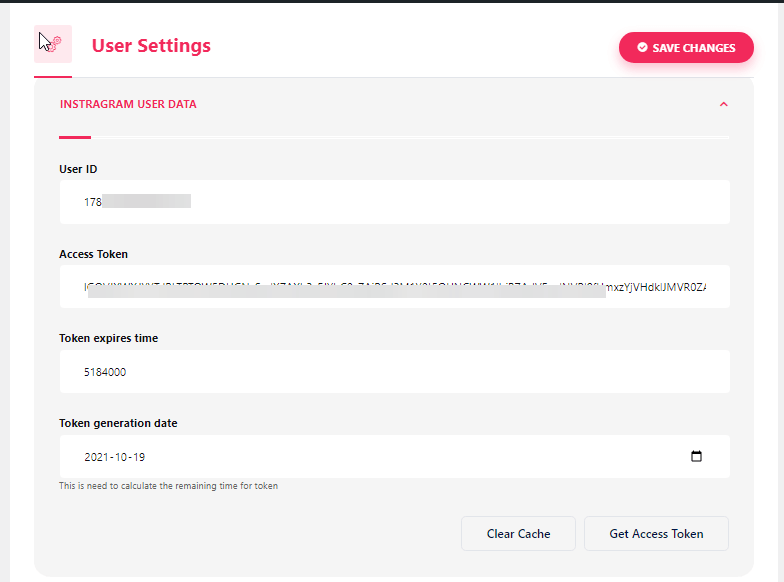
- Step=>1: Go to Elementskit=> User data=> Click on the Instagram User Data to Expand-> Click on Get Access Token.
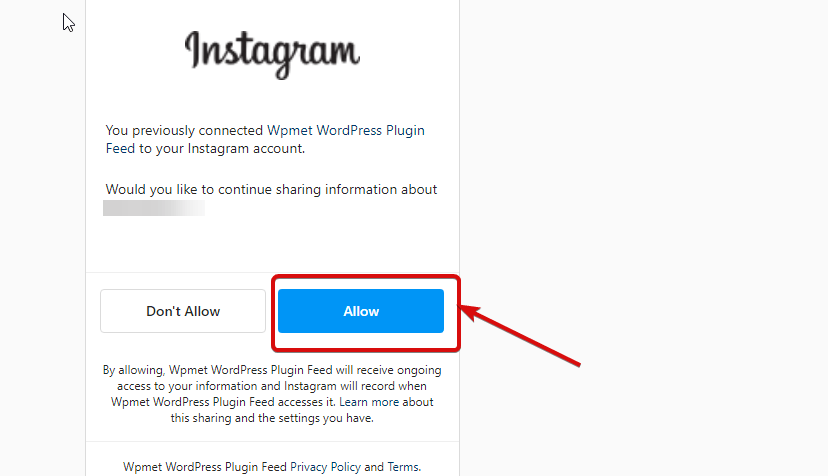
- Step=>2: Enter your Instagram account Credentials and click on Log In. Or, you can log in with your Facebook Account. Once asked for permission click on allow.
- Step=>3: Here is your Instagram User ID, Long Lived Token, Token expires in and Token generated. Copy them.
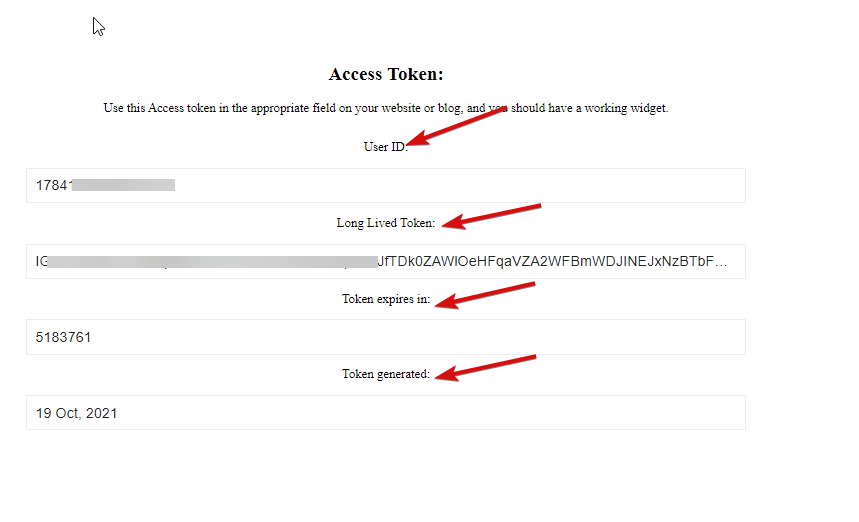
- Step=>4: Then go to Instagram User Data and paste the User ID, Long Lived Token, Token expires in and Token generated values.
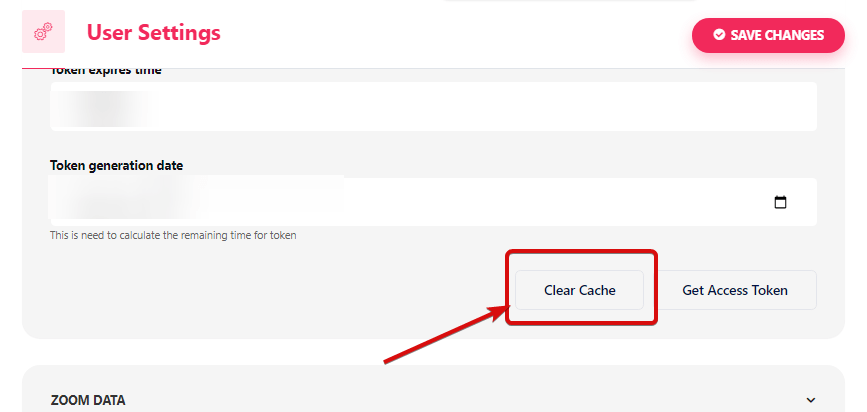
Note: You need to sync the data before the token expires time exceed.
- If you face any issue regarding syncing the data, just click on clear cache.
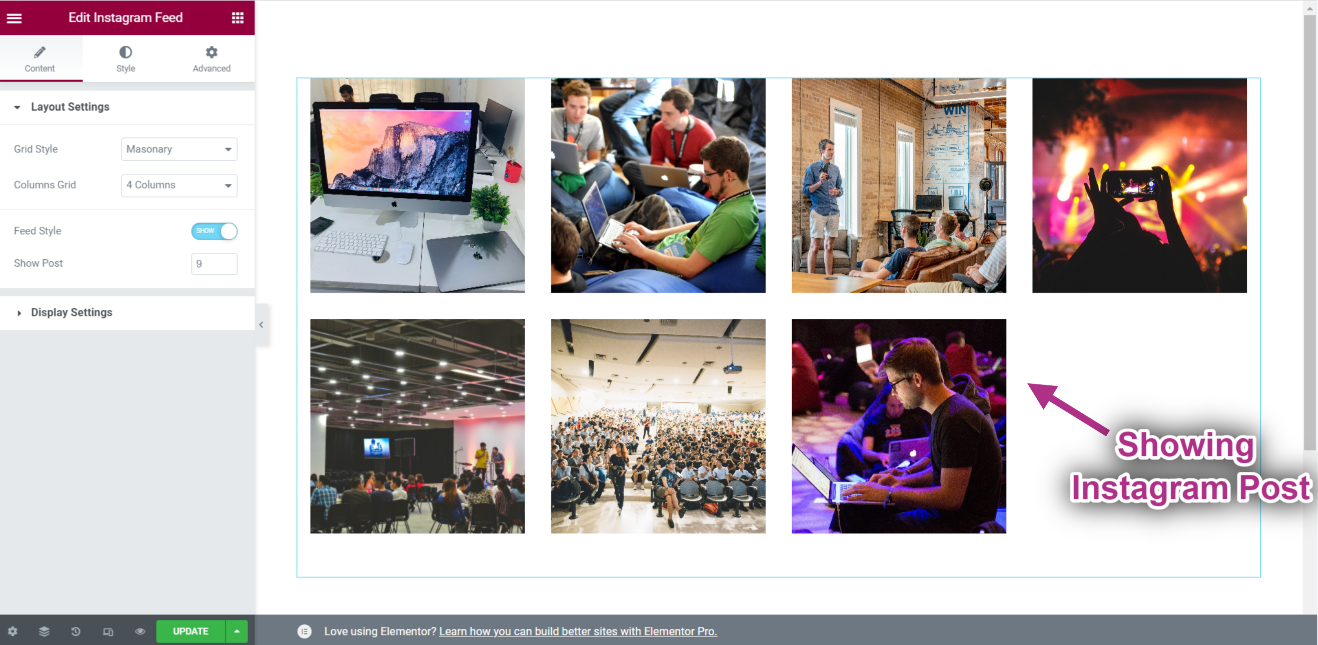
- Step=>5: Go to Elementor=> Search Instagram Feed=> Just Drag and drop the field.
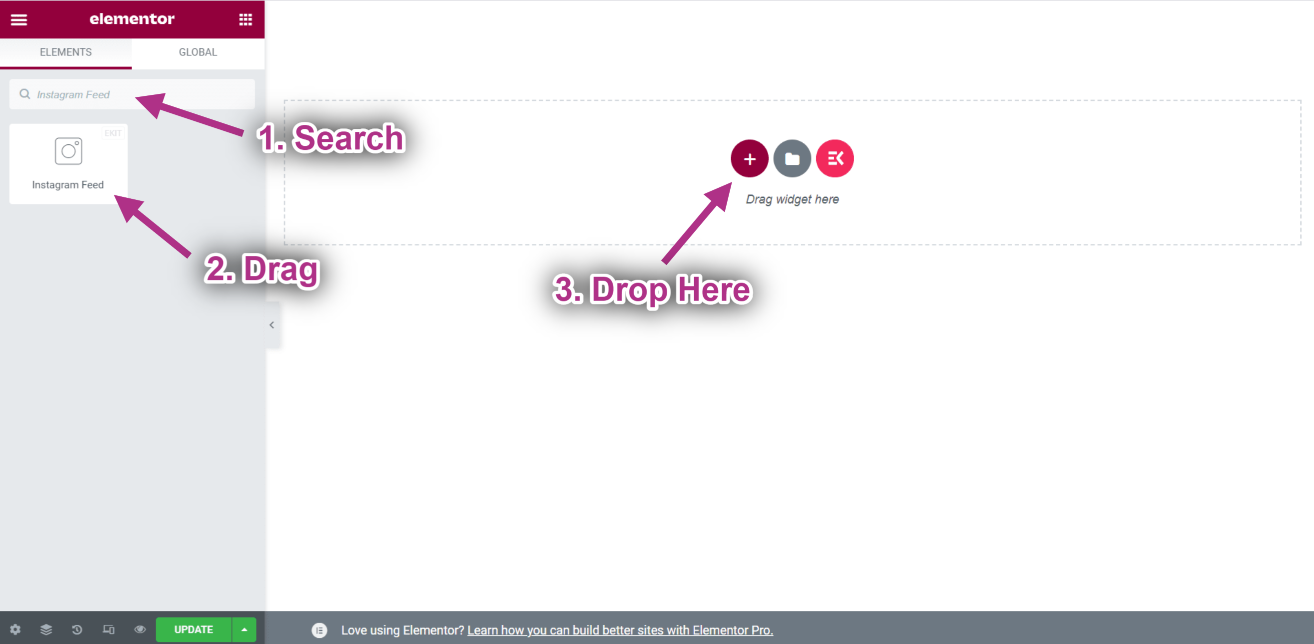
- Now you can see your Instagram post on your Instagram feed widget.